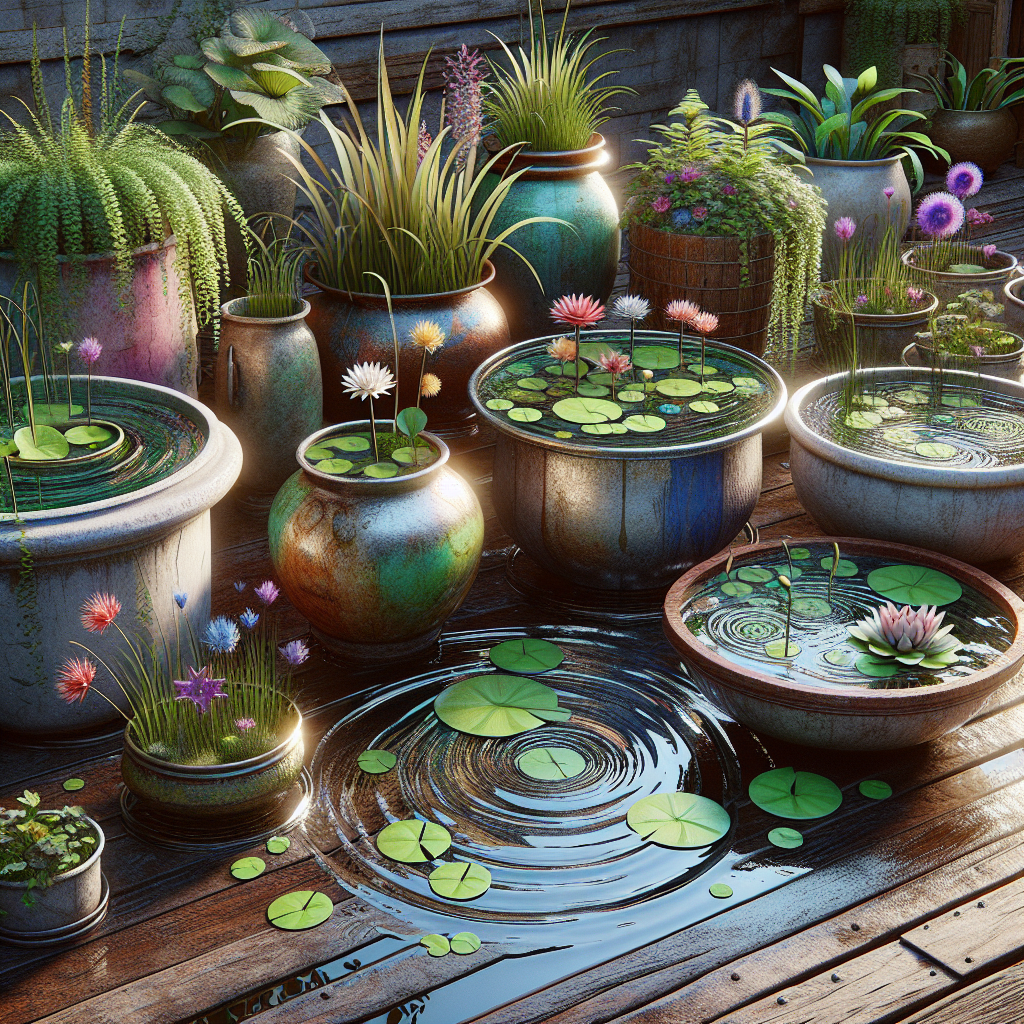
Water gardens are a beautiful and serene addition to any outdoor space. They provide a sense of calm and tranquility, as well as attract wildlife such as birds, butterflies, and frogs. While traditional water gardens are typically created in large ponds or bodies of water, it is also possible to create a smaller version in containers. In this article, we will explore the benefits of creating a water garden in containers and provide a step-by-step guide on how to do so.
Benefits of Creating a Water Garden in Containers
There are several benefits to creating a water garden in containers. One of the main advantages is that it allows you to enjoy the beauty and serenity of a water garden even if you have limited space. Containers can be placed on patios, balconies, or even indoors, making them an ideal option for those who live in apartments or urban areas.
Another benefit is that container water gardens are much easier to maintain than traditional ponds. They require less space, water, and maintenance, making them a low-maintenance option for those with busy schedules or limited gardening experience.
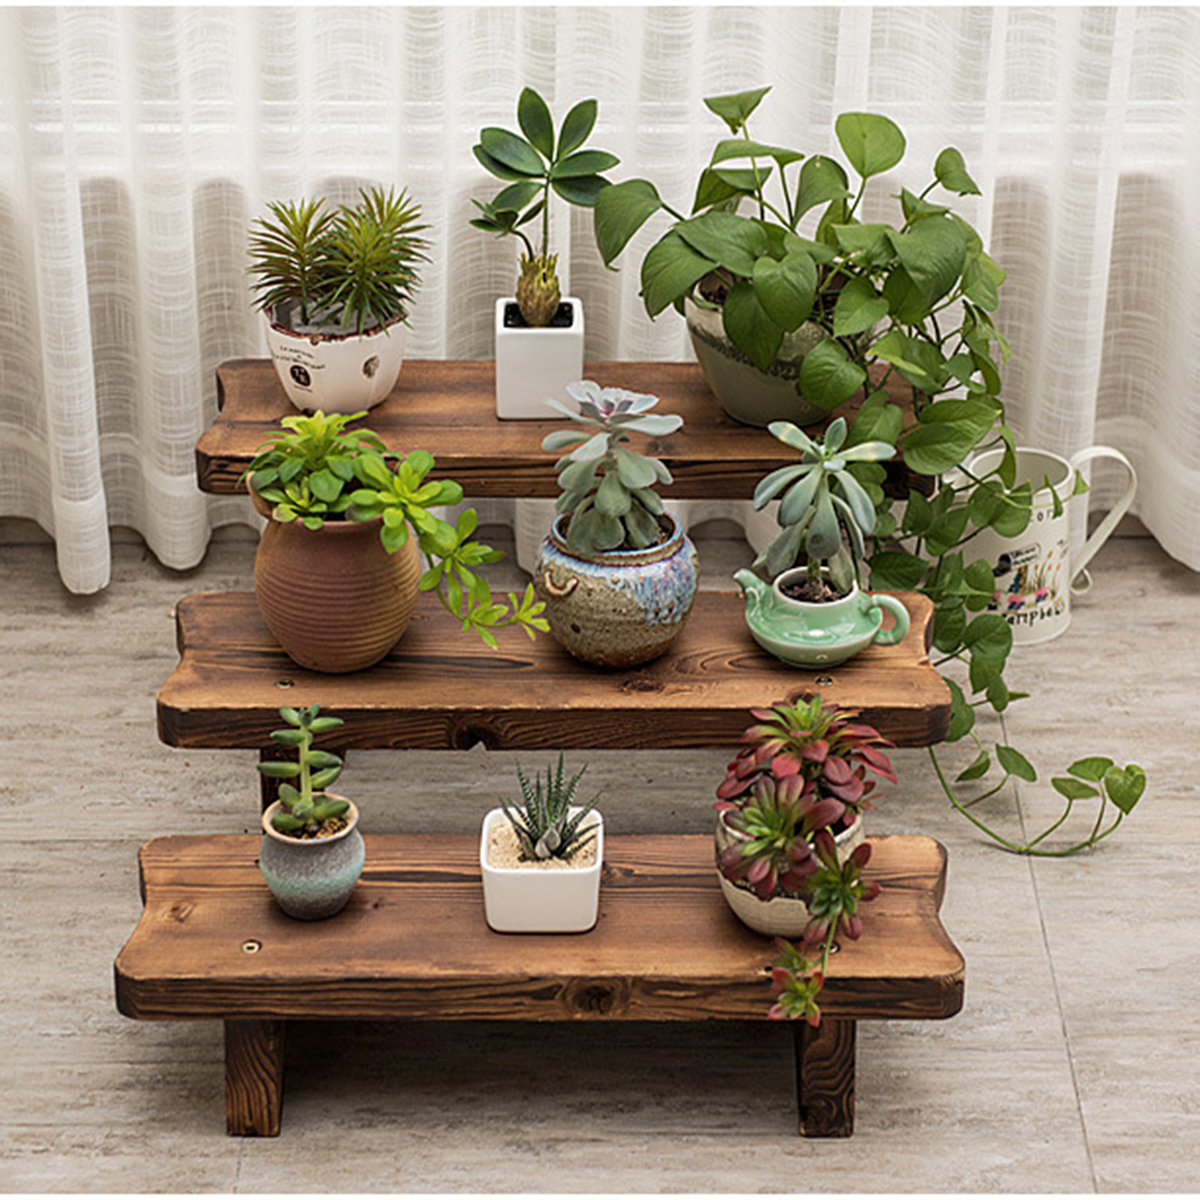
Container water gardens also provide flexibility in terms of design and placement. You can easily move the containers around to change up the look of your garden or find the perfect spot with the right amount of sun and shade for your plants.
Step-by-Step Guide to Creating a Water Garden in Containers
Now that we’ve discussed the benefits of creating a water garden in containers, let’s dive into how you can create your own mini oasis at home:
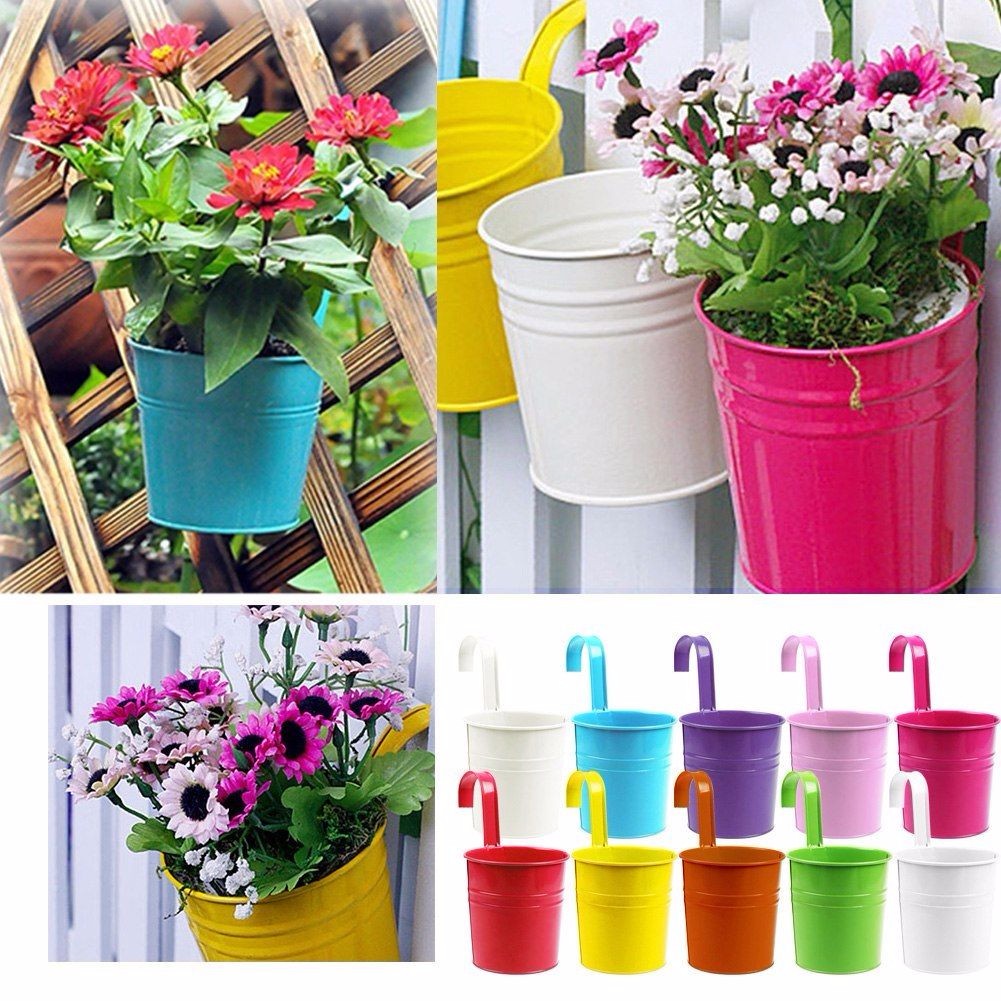
1. Choose a Container: The first step is to choose a container for your water garden. You can use virtually any type of container that holds water – from decorative pots and planters to old barrels or buckets. Just make sure that the container is watertight and does not have any drainage holes.
2. Add Water: Fill your container with clean, dechlorinated water. You can use tap water that has been left out for 24 hours to allow chlorine to evaporate or use rainwater collected from a rain barrel.
3. Add Plants: Next, it’s time to add plants to your water garden. Choose aquatic plants such as water lilies, lotus flowers, irises, or floating plants like duckweed or water lettuce. These plants will help oxygenate the water and provide shelter for wildlife.
4. Add Fish (Optional): If you’re feeling adventurous, you can also add fish to your container water garden. Goldfish or guppies are popular choices as they are relatively easy to care for and can help keep algae under control.
5. Add Decorative Elements: To enhance the beauty of your water garden, consider adding decorative elements such as rocks, pebbles, driftwood, or statues. These elements will add visual interest and create a more natural look.
6. Maintain Your Water Garden: Finally, it’s important to maintain your container water garden by regularly checking the water levels and refilling as needed, removing any debris or dead plant material, and fertilizing aquatic plants as necessary.
In conclusion…
Creating a water garden in containers is a rewarding and enjoyable project that allows you to bring the beauty and tranquility of nature into your own backyard or living space. With just a few simple steps and some creativity, you can create your own mini oasis where you can relax and unwind after a long day. So why not give it a try? Start small with just one container and see how it transforms your outdoor space – you may just find yourself hooked on this new hobby!


