Table of Contents
Have you ever dreamed of growing your own garden, but found the idea of daily watering to be daunting? Well, fear not! Slow drip irrigation is here to revolutionize the way you care for your plants. With this beginner’s guide, you’ll learn everything you need to know to set up a slow drip irrigation system and watch your garden thrive.
Slow drip irrigation is a method of watering plants that delivers a slow, steady flow of water directly to the root zone. This targeted approach not only conserves water by minimizing evaporation and runoff but also promotes healthier plant growth by ensuring that each plant receives the perfect amount of moisture. Whether you’re a gardening novice or a seasoned pro looking to simplify your watering routine, slow drip irrigation is an efficient and effective solution for all your plant care needs. Let’s dive in and explore how you can go from setup to success with slow drip irrigation!
Benefits of Slow Drip Irrigation
One of the key benefits of slow drip irrigation is its water-saving capabilities. Traditional methods of watering, such as sprinklers or hand-watering, can result in significant water waste due to evaporation and runoff. With slow drip irrigation, water is delivered directly to the root zone where it is needed most, minimizing waste and maximizing efficiency.
Additionally, slow drip irrigation promotes healthier plant growth by providing a consistent water supply. Plants receive a steady flow of moisture throughout the day, which helps prevent underwatering or overwatering. This consistent moisture level encourages strong root development and lush foliage, leading to bigger and brighter blooms.
Another advantage of slow drip irrigation is its versatility. Whether you have a small container garden on your balcony or a sprawling vegetable patch in your backyard, slow drip systems can be customized to fit any space. From simple DIY setups using recycled materials to advanced automated systems with timers and sensors, there’s a solution for every garden size and budget.
Setting Up Your Slow Drip Irrigation System
The first step in setting up a slow drip irrigation system is determining the needs of your plants. Consider factors such as plant type, soil type, sun exposure, and climate when planning your system. Different plants have different watering requirements, so it’s important to tailor your setup to meet the specific needs of each plant.
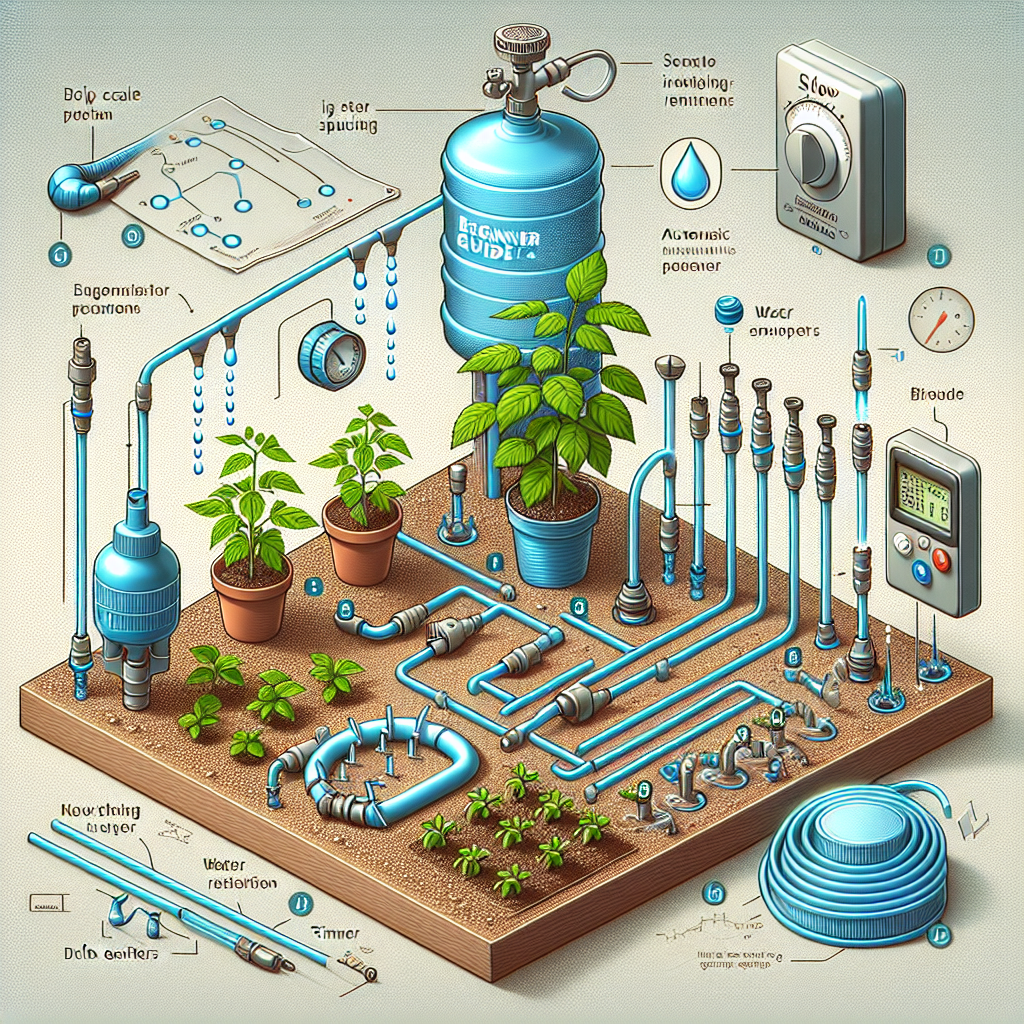
Next, gather the necessary materials for your system. You’ll need tubing (such as soaker hose or drip tape), connectors, emitters (drippers), end caps, stakes or clips for securing the tubing in place, and a water source (such as a hose or rain barrel). These items can be found at most garden centers or online retailers specializing in irrigation supplies.
Once you have all your materials assembled, it’s time to lay out your system. Start by connecting the tubing to your water source using connectors and end caps as needed. Arrange the tubing around your plants in a looped or zigzag pattern, making sure to position emitters near each plant’s roots.
Secure the tubing in place using stakes or clips to prevent it from shifting or kinking during use. Test the system by turning on the water source and checking for leaks or clogs in the tubing. Make any necessary adjustments before leaving the system running unattended.
Maintaining Your Slow Drip Irrigation System
Regular maintenance is key to keeping your slow drip irrigation system running smoothly year-round. Check for clogs or leaks in the tubing periodically and replace damaged components as needed. Clean emitters regularly by soaking them in vinegar or flushing them with clean water to prevent buildup from affecting water flow.
Adjust watering schedules as needed based on weather conditions and plant growth stages. During hot weather or dry spells, plants may require more frequent watering than usual to stay healthy. Conversely, during rainy periods or cooler temperatures, you may need to reduce watering frequency to avoid overwatering.
Monitor soil moisture levels regularly by digging down into the root zone with a trowel or soil probe. If soil feels dry more than an inch below the surface, it’s time to give plants some extra hydration. Remember that different types of plants have different moisture requirements based on their native habitats and seasonal preferences.
Troubleshooting Common Issues
Despite its many benefits, slow drip irrigation systems can sometimes experience issues that require troubleshooting. One common problem is uneven watering caused by clogged emitters or improperly spaced tubing. To fix this issue, check each emitter for blockages and adjust spacing as needed to ensure even coverage.
Another issue that may arise is low water pressure resulting from kinks in the tubing or inadequate flow from the water source.
To address this problem,
inspect
the entire system
to identify
and
remove
any obstructions
or restrictions
that may be impeding
water flow.
If pests are attracted
to
moisture pooling around emitters,
consider applying organic pest control methods
or moving emitters
to drier areas
of
the garden.
Finally,
if
plants are showing signs
of stress despite regular watering,
check soil moisture levels
and consider adjusting
the frequency
or duration
of watering sessions
as needed.
With proper maintenance
and attention
to detail,
you can keep
your
slow
drip
irrigation
system running smoothly
and enjoy
lush,
healthy
plants year-round.
FAQs
- What are some benefits of slow drip irrigation?
- What materials do I need for setting up a slow drip system?
- How do I maintain my slow-drip system?
- What should I do if my system experiences issues like low pressure?
Some benefits include conserving water through targeted watering directly at roots zones which minimizes evaporation.
You will need tubing (soaker hose/drip tape), connectors,end caps,stakes/clips,a water source.
Maintain regular checks,clean emitters regularly,and adjust watering schedules as needed.
You should inspect for kinks/obstructions,relocate pests,and adjust watering frequency accordingly.


