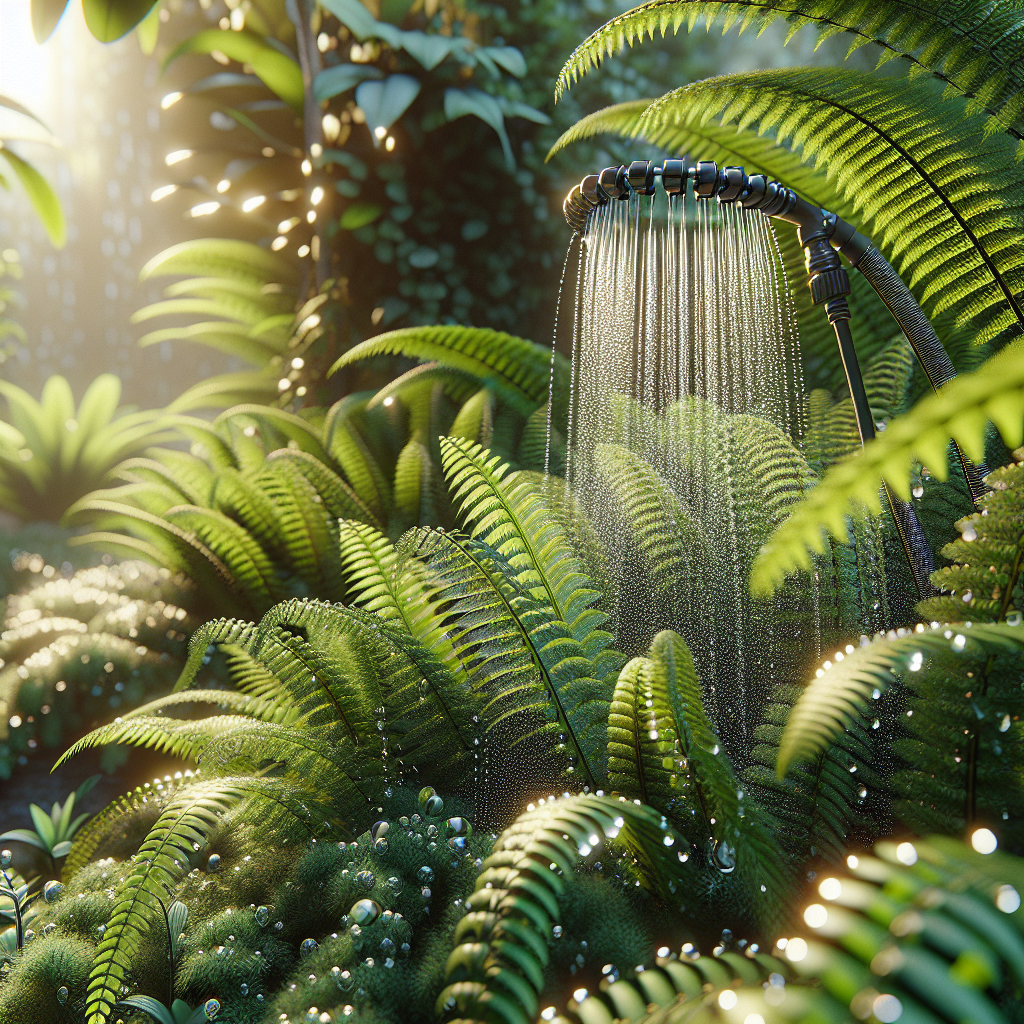
Ferns are a popular choice for indoor and outdoor landscaping due to their elegant fronds and ability to thrive in a variety of conditions. However, caring for ferns can be a challenge, especially when it comes to watering. Ferns require consistent moisture to thrive, but overwatering can lead to root rot and other issues. A slow drip watering system can be an effective solution for keeping ferns healthy and happy.
What is a Slow Drip Watering System?
A slow drip watering system is a method of delivering water directly to the roots of plants at a slow and steady rate. This type of irrigation system helps ensure that plants receive the right amount of water without the risk of overwatering or underwatering. Slow drip systems can be set up using drip irrigation kits or homemade setups using materials like PVC pipe, tubing, and emitters.
Benefits of Using a Slow Drip Watering System for Ferns
There are several benefits to using a slow drip watering system for ferns:
1. Consistent Moisture: Ferns thrive in consistently moist soil, and a slow drip system helps provide this by delivering water directly to the roots on a regular basis.
2. Prevents Overwatering: By delivering water slowly and steadily, a slow drip system helps prevent overwatering, which can lead to root rot and other issues in ferns.
3. Saves Water: Slow drip systems are designed to deliver water efficiently, reducing wastage and helping conserve water.
4. Low Maintenance: Once set up, slow drip systems require minimal maintenance, making them an ideal choice for busy gardeners.
How to Set Up a Slow Drip Watering System for Ferns
Setting up a slow drip watering system for your ferns is relatively easy and can be done in just a few simple steps:
1. Choose the Right Materials: To set up a slow drip system, you will need materials like tubing, emitters, stakes, connectors, and possibly timers or controllers.
2. Plan Your Layout: Determine where your ferns are located and how many plants you need to water. This will help you determine how much tubing you need and where to place emitters.
3. Install Tubing: Lay out the tubing around your ferns, making sure it reaches all the plants that need watering. Use stakes or clips to secure the tubing in place.
4. Add Emitters: Attach emitters to the tubing near each plant so that water can be delivered directly to the roots.
5. Test Your System: Turn on your water source and check that the emitters are delivering water at the desired rate. Adjust as needed until each plant is receiving adequate moisture.
Tips for Caring for Ferns with a Slow Drip Watering System
Once you have set up your slow drip watering system for your ferns, there are some additional tips you can follow to ensure they thrive:
1. Monitor Soil Moisture: Check the soil moisture regularly by sticking your finger into the soil near the base of your ferns. If it feels dry, increase watering frequency or duration as needed.
2. Adjust Watering Schedule: Depending on factors like temperature, humidity levels, and plant size, you may need to adjust your watering schedule throughout the year.
3. Fertilize Regularly: Ferns benefit from regular fertilization during their growing season (spring through fall). Use a balanced liquid fertilizer diluted at half strength once per month.
4. Prune Dead Fronds: Remove any dead or yellowed fronds from your ferns regularly to encourage new growth.
In conclusion, caring for ferns with a slow drip watering system is an effective way to provide consistent moisture while preventing issues like overwatering or underwatering. By following these tips and setting up your own slow-drip irrigation system, you can help ensure that your ferns remain healthy and vibrant year-round.


