Efficient Watering Solutions: How to Implement Slow Drip Irrigation
Water is a vital resource, especially for gardeners and farmers who rely on it to grow and nurture their plants. However, with increasing concerns about water scarcity and the need for sustainable practices, it is crucial to find efficient watering solutions. One such solution is slow drip irrigation, a method that provides controlled water delivery directly to plant roots, reducing wastage and promoting healthier plants. In this article, we will explore the benefits of slow drip irrigation and provide a step-by-step guide on how to implement this efficient watering system.
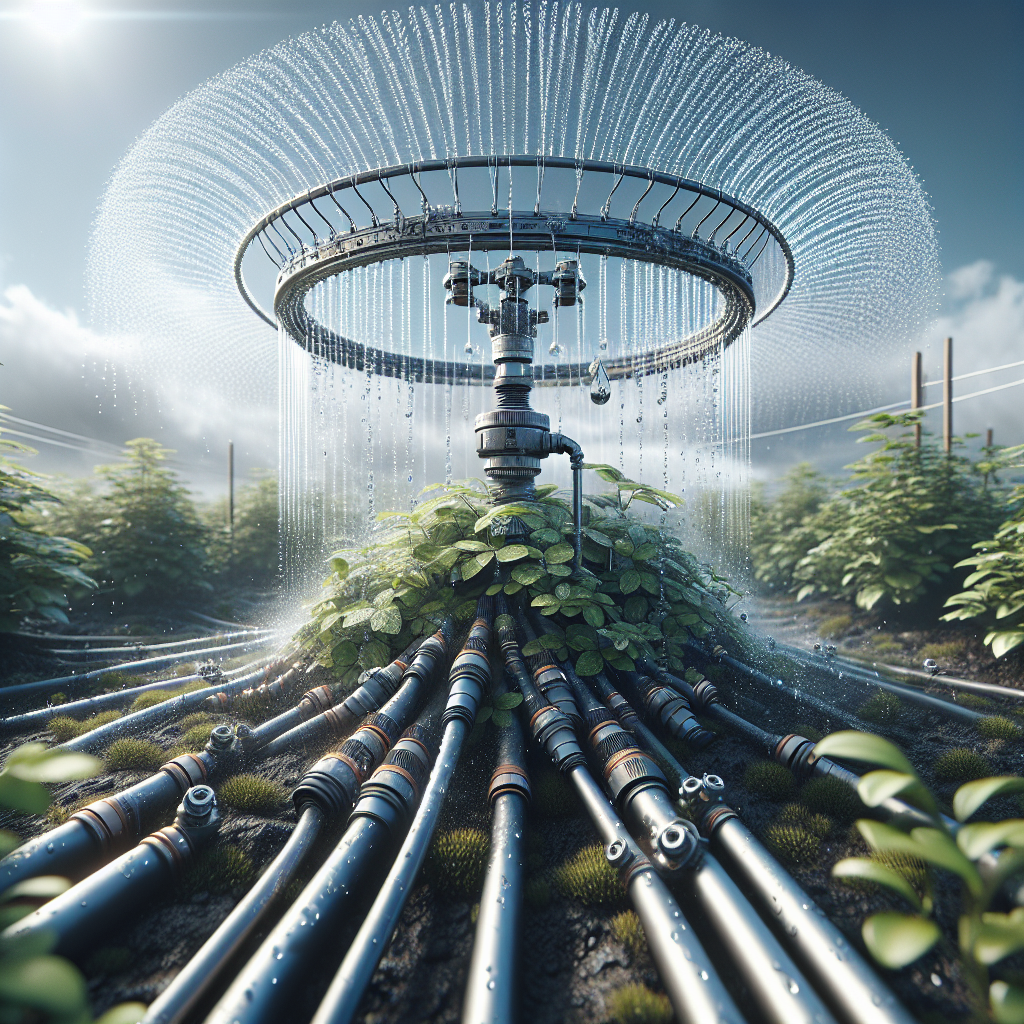
Slow drip irrigation, also known as trickle irrigation or micro-irrigation, involves delivering water directly to the root zone of plants at a slow and steady pace. Unlike traditional sprinkler systems that spray water over a large area, slow drip irrigation focuses on individual plants or selected areas. This targeted approach ensures water is delivered precisely where it is needed most – at the roots – minimizing evaporation and runoff.
One of the significant benefits of slow drip irrigation is its efficiency in water usage. Compared to conventional sprinkler systems that can lose up to 50% of water through evaporation or overspray, slow drip systems can achieve an efficiency rate as high as 90%. By delivering water directly to the roots, plants are able to absorb moisture efficiently without wastage. This not only conserves precious water resources but also saves gardeners money on their water bills.
Another advantage of slow drip irrigation is its ability to prevent weed growth. Unlike sprinklers that spray water indiscriminately over a wide area, slow drip systems deliver water only to specific plant root zones. By avoiding wetting unplanted areas between rows or in surrounding soil, weed seeds are less likely to germinate since they require constant moisture for growth. This targeted watering reduces the need for herbicides and manual weeding efforts.
Moreover, slow drip irrigation promotes healthier plant growth. By delivering water directly to the roots, plants receive a consistent supply of moisture, preventing under or over-watering. This controlled watering system also reduces the risk of leaf diseases caused by prolonged moisture on foliage. Additionally, slow drip irrigation helps regulate soil temperature by keeping the root zone cool, promoting optimal plant growth and reducing stress during hot summer months.
Now that we understand the benefits of slow drip irrigation, let’s delve into how to implement this efficient watering system.
Step 1: Planning
Start by assessing your garden or farm’s layout and identifying areas that require irrigation. Determine which plants can benefit the most from slow drip irrigation. Consider factors such as plant type, proximity to water source, and soil type when selecting locations.
Step 2: Gather Supplies
Next, gather all the necessary supplies for installing a slow drip irrigation system. This includes drip tubing or tape, emitters or drippers, connectors, stakes or clips for securing the tubing in place, a pressure regulator to control water flow, a filter to keep debris out of the system, and a timer for automated watering.
Step 3: Prepare Water Source
Ensure you have a reliable water source with adequate pressure for your slow drip irrigation system. If needed, install a backflow preventer to protect your main water supply from contamination.
Step 4: Lay Tubing/Tape
Carefully lay out the drip tubing or tape along rows or around individual plants according to your planned layout. Cut tubing to appropriate lengths and attach connectors as needed.
Step 5: Install Emitters/Drippers
Attach emitters or drippers at regular intervals along the tubing/tape near each plant’s root zone. The number of emitters will depend on plant water requirements and spacing.
Step 6: Secure Tubing/Tape
Use stakes or clips to secure the tubing/tape in place along rows or around individual plants. This prevents movement and ensures the emitters remain in the desired location.
Step 7: Connect Pressure Regulator and Filter
Attach a pressure regulator and filter to the main water supply before connecting it to the tubing. The pressure regulator will maintain a consistent flow rate, while the filter will prevent clogging caused by debris.
Step 8: Set Timer
If desired, install a timer to automate your slow drip irrigation system. This allows for precise watering schedules and ensures consistent moisture levels without manual intervention.
Step 9: Monitor and Adjust
Regularly monitor your slow drip irrigation system to ensure it is functioning correctly. Check for leaks, clogs, or damaged components. Adjust water flow or emitter placement as needed to meet plant requirements.
In conclusion, implementing slow drip irrigation offers numerous benefits in terms of water conservation, weed control, and healthier plant growth. By delivering water directly to the root zone at a slow and steady pace, this efficient watering solution minimizes waste and promotes optimal plant health. By following the step-by-step guide provided above, you can successfully implement a slow drip irrigation system in your garden or farm, contributing to sustainable practices while reaping the rewards of thriving plants.


