Create a Vertical Garden with Thriving Plants in Containers
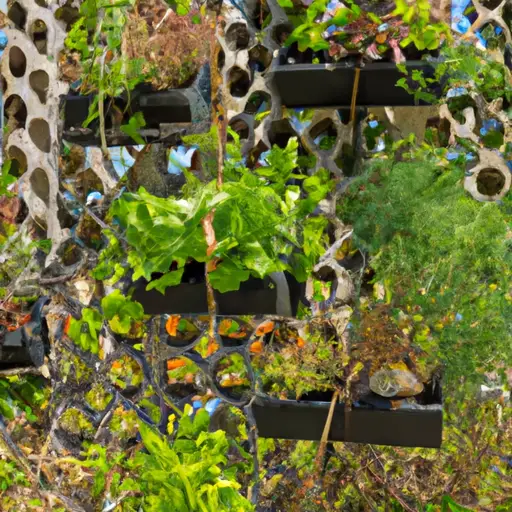
Gardening has evolved over the years, and with limited space becoming the norm, it is essential to find creative ways to incorporate greenery into our surroundings. One innovative solution gaining popularity is vertical gardening. By utilizing vertical space and containers, we can transform any empty wall or outdoor area into a lush oasis.
Vertical gardens not only beautify your living spaces but also provide numerous benefits. They improve air quality, reduce noise pollution, and offer a serene and calming ambiance. Additionally, growing plants in containers offers flexibility and convenience since they can be easily moved or rearranged as desired.
To create a thriving vertical garden, here’s a step-by-step guide to help you bring your space to life:
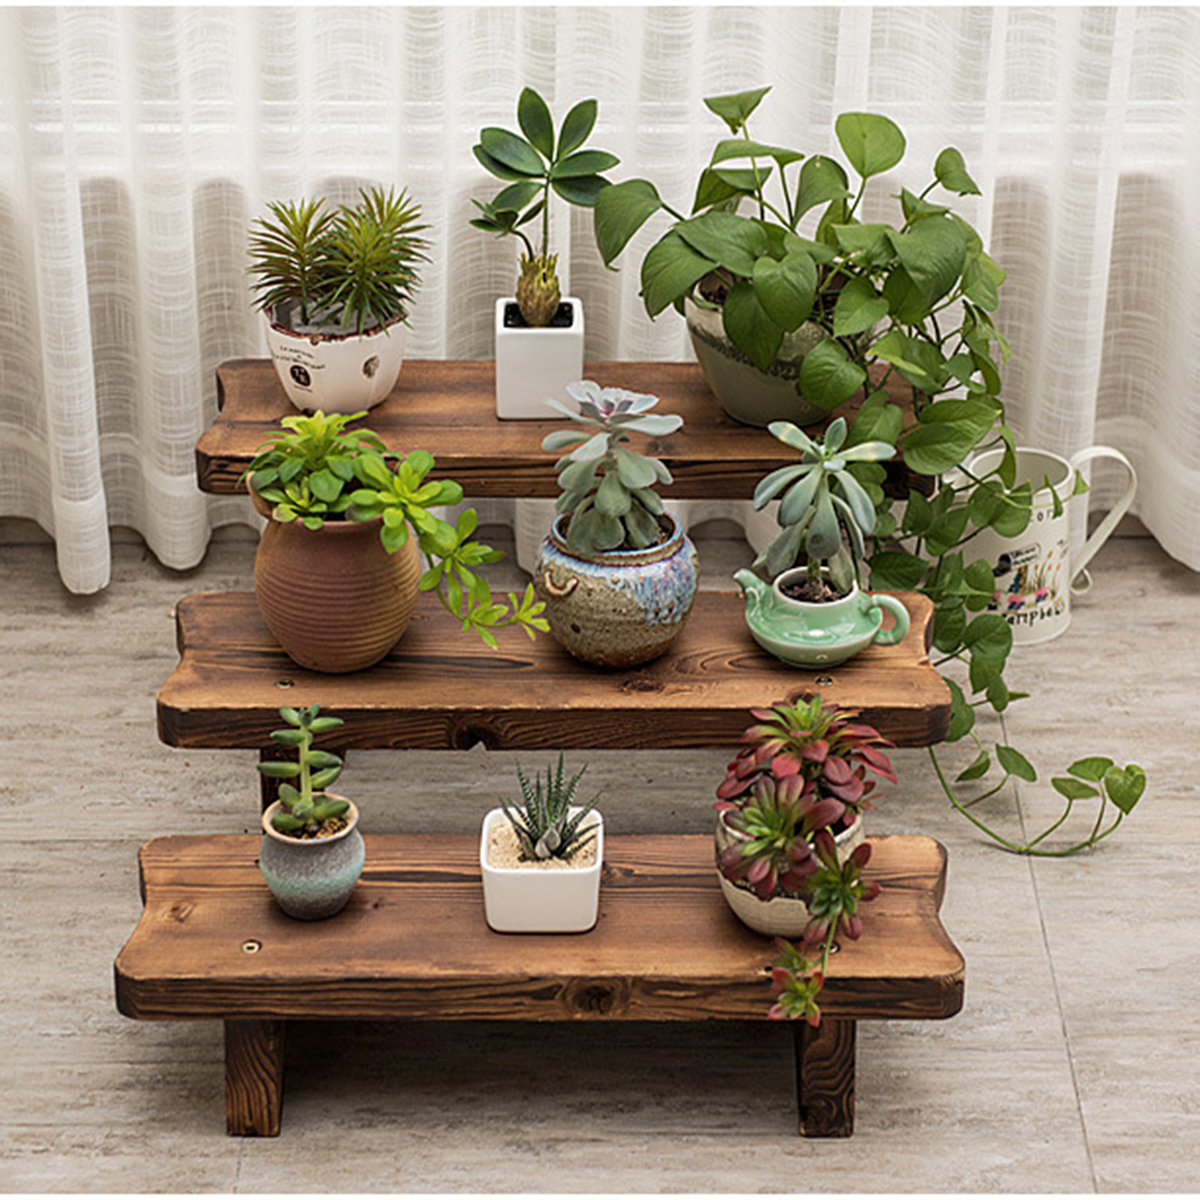
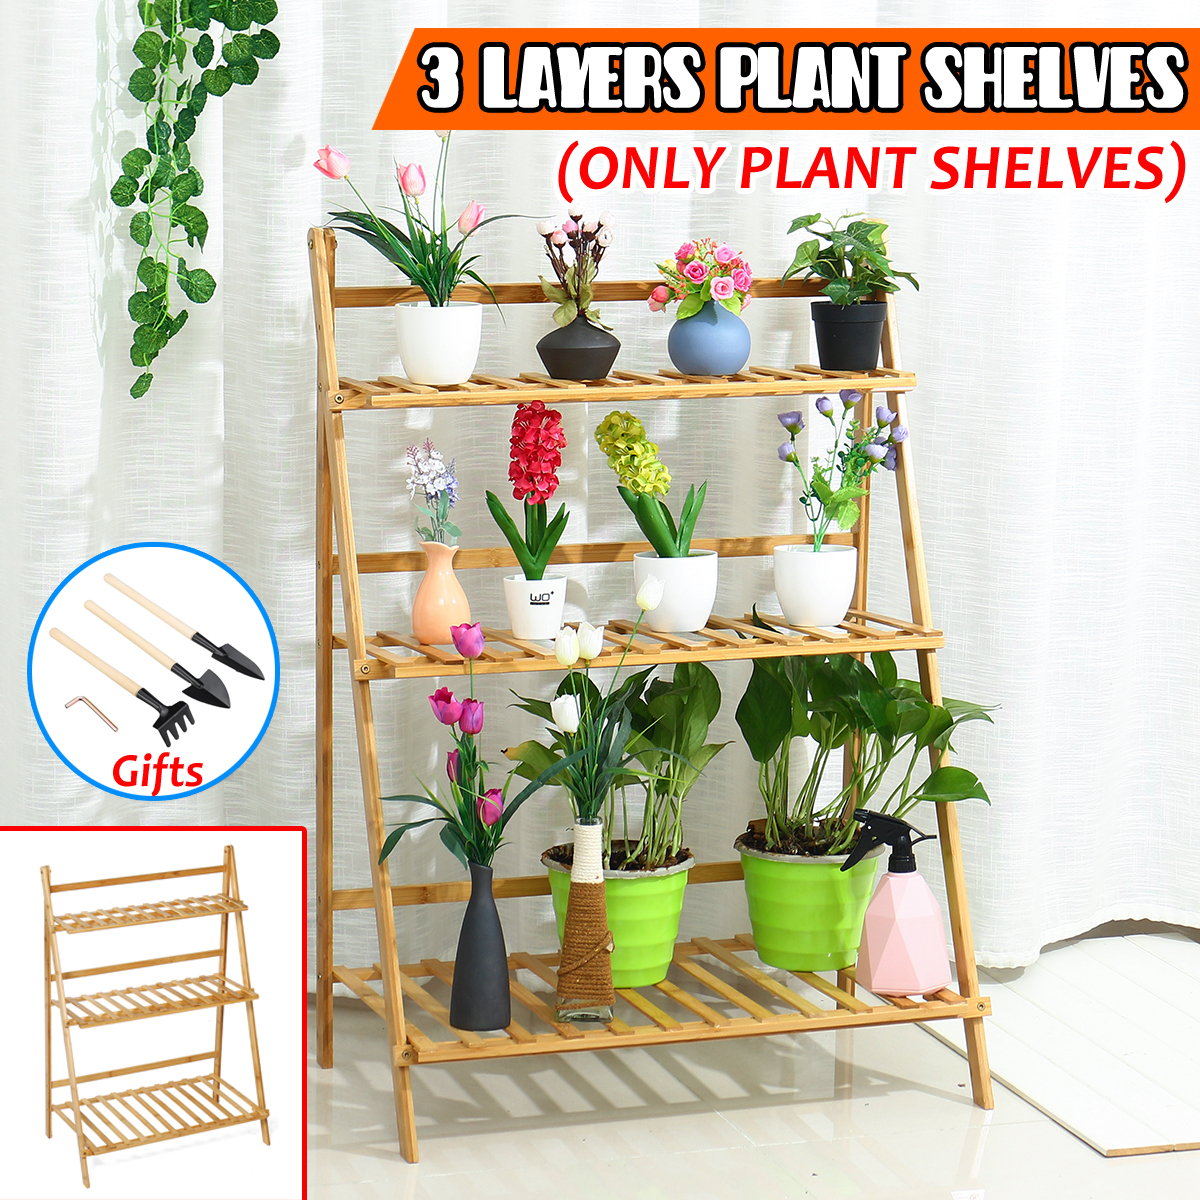
1. Select the Right Location: Assess the available space in your home or outdoor area. Look for a spot that receives sufficient sunlight throughout the day, as most plants require at least six hours of direct sunlight for optimal growth. Consider using walls, fences, balconies, or even freestanding frames specifically designed for vertical gardening.
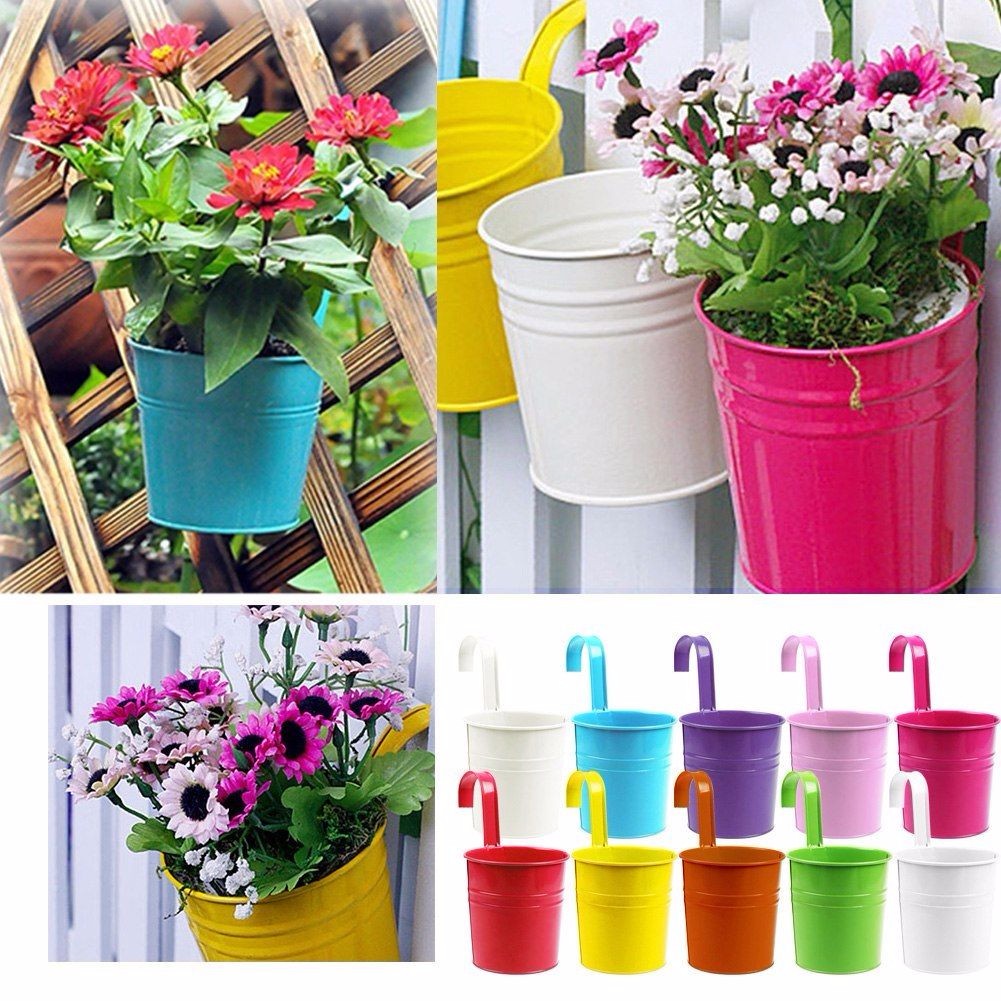
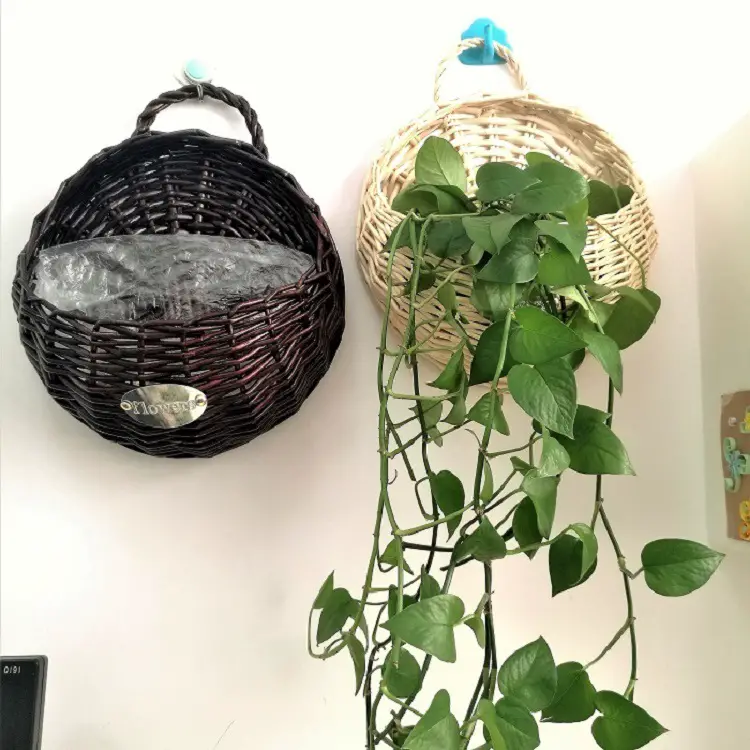
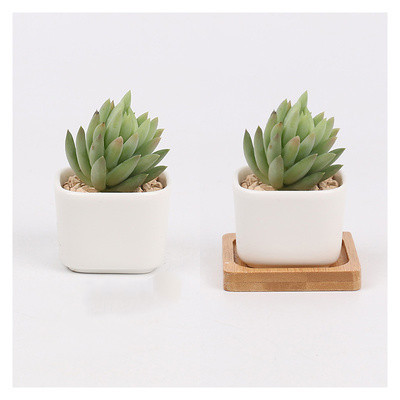
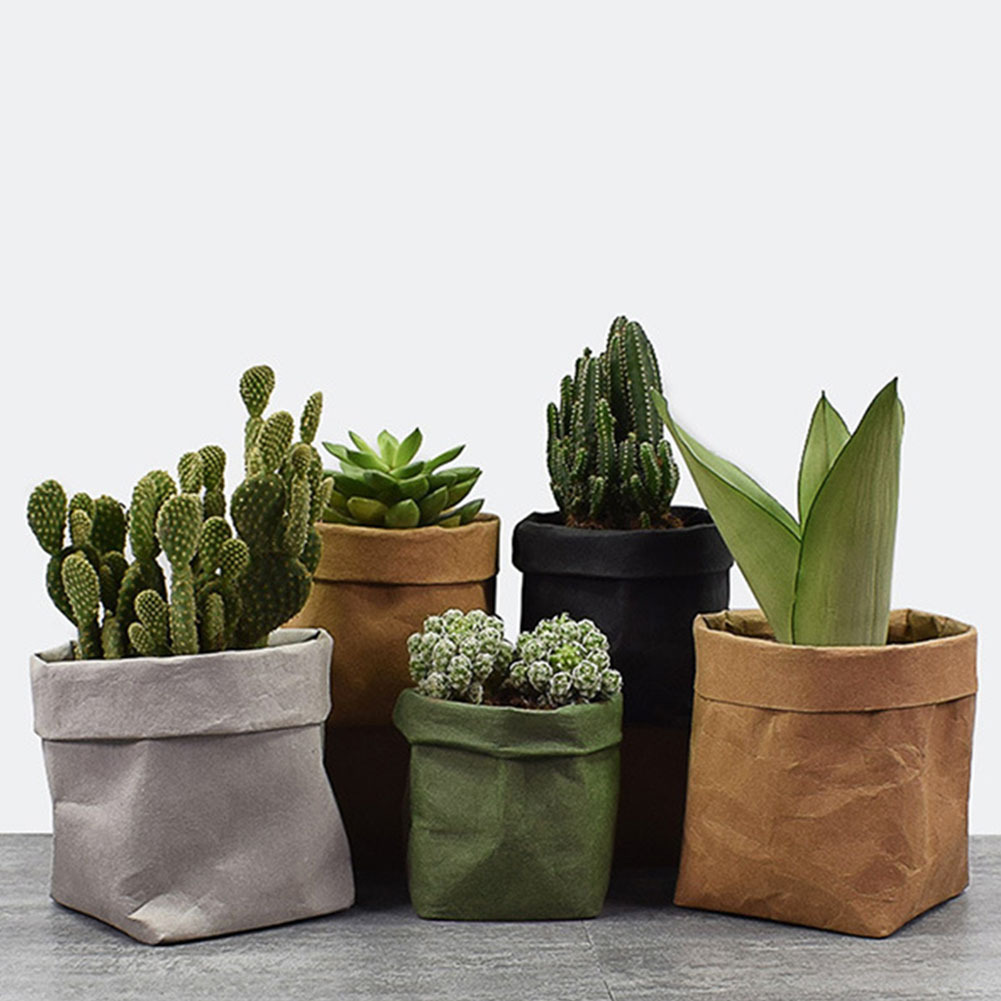
2. Choose Suitable Containers: Select containers that are suitable for vertical gardening and can be easily mounted or attached to your chosen structure. Consider factors such as size, weight capacity, drainage holes, and aesthetics when buying containers.
3. Decide on Plant Varieties: Choose plants that will thrive in containers and provide visual interest. Opt for a mix of trailing plants with cascading foliage like creeping Jenny (Lysimachia nummularia) or English ivy (Hedera helix). Incorporate upright plants such as ferns, grasses, succulents (such as echeverias), or compact flowering plants like petunias or begonias. Ensure you select varieties suitable for your region’s climate.
4. Prepare the Soil Mix: Use a well-draining potting mix rich in organic matter to promote healthy root growth. Avoid garden soil, as it may lead to poor drainage and hinder plant growth. Add slow-release fertilizers or organic compost to provide essential nutrients.
5. Planting and Arrangement: Start by filling your containers with the prepared soil mix, leaving enough space for your plants’ roots. Gently remove plants from their nursery pots, loosen the roots, and place them into the containers, ensuring they are securely positioned. Place trailing plants at the top of your vertical structure or in hanging baskets, allowing them to drape beautifully.
6. Watering and Maintenance: Proper watering is crucial for success. Ensure that your vertical garden receives adequate moisture without becoming waterlogged or overly dry. Check the moisture level regularly and adjust watering accordingly. Consider installing an irrigation system or using self-watering containers to simplify maintenance.
7. Regular Pruning and Fertilizing: To maintain a healthy and compact vertical garden, regular pruning is necessary. Trim back any overgrown or dead foliage to encourage new growths and keep plants in shape. Fertilize your plants according to their specific requirements to ensure they receive sufficient nutrients for continuous growth.
8. Monitor Pests and Diseases: As with any garden, keep an eye out for pests such as aphids or spider mites that can damage your plants’ health. Regularly inspect your vertical garden for signs of disease or infestation, treat them promptly using organic methods if necessary.
A vertical garden can transform even the smallest spaces into green havens while providing all the benefits of traditional gardening in a compact form. With careful planning, suitable plant selection, proper care, and maintenance, you can create a thriving oasis that will bring beauty and tranquility to your surroundings all year round. So why wait? Start creating your own vertical garden with thriving plants in containers today!


