Building a Vertical Garden with Stacked Containers
Vertical gardens have become increasingly popular in recent years as they offer a practical and visually appealing solution for growing plants in limited spaces. One method of creating a vertical garden is by using stacked containers, which allows you to maximize your gardening area without sacrificing the beauty of your surroundings. In this article, we will explore the benefits of building a vertical garden with stacked containers and provide you with step-by-step instructions on how to create one.
Benefits of Vertical Gardens:
1. Space Optimization: One of the primary advantages of vertical gardens is their ability to make use of vertical space. By stacking containers, you can grow plants upwards rather than outwards, making them suitable for balconies, small patios, or even indoor spaces.
2. Increased Plant Variety: With a vertical garden, you are not limited to growing only ground-based plants. You can experiment with a wide variety of plant species that thrive in different conditions – from vines that drape down gracefully to herbs and vegetables that grow vertically.
3. Improved Air Quality: Plants act as natural air purifiers by absorbing carbon dioxide and releasing oxygen through photosynthesis. Vertical gardens help increase the number of plants in a small area, resulting in improved air quality.
4. Enhanced Aesthetics: Vertical gardens can transform dull walls into vibrant green spaces. They add an element of beauty and tranquility to any environment.
Building Your Vertical Garden:
Step 1: Select Your Containers
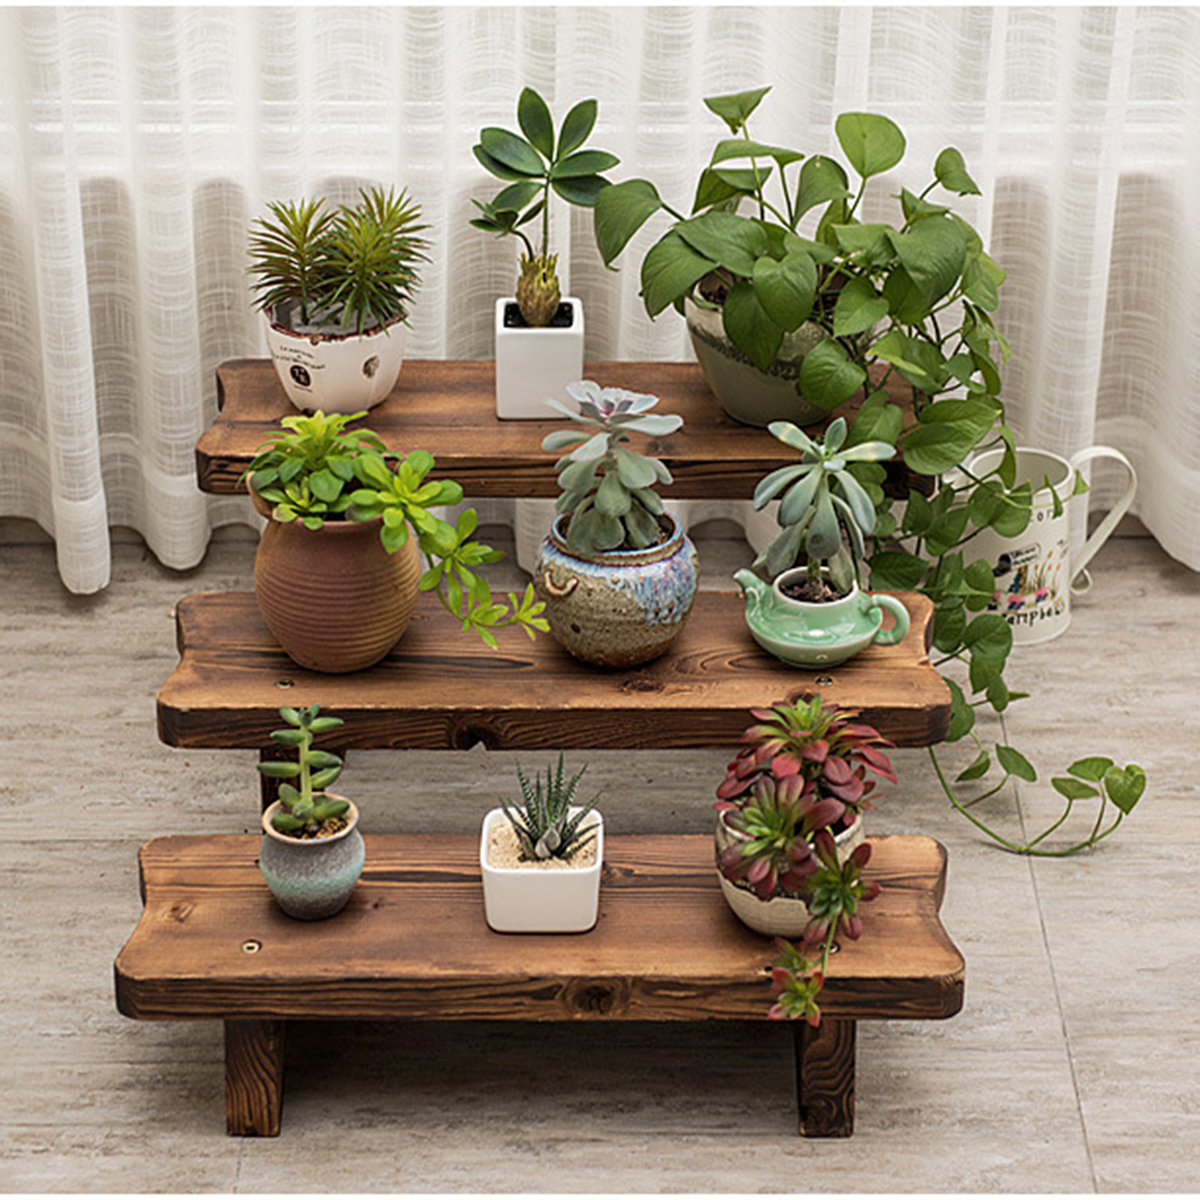
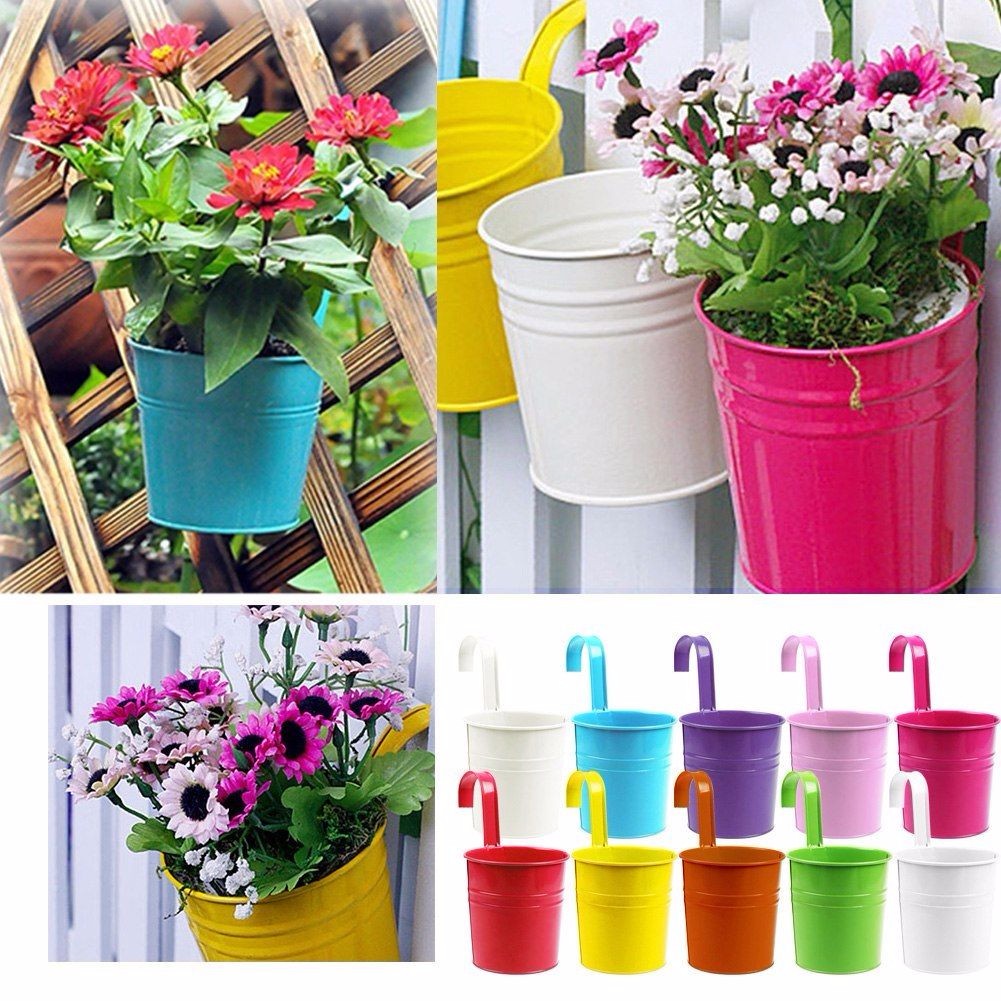
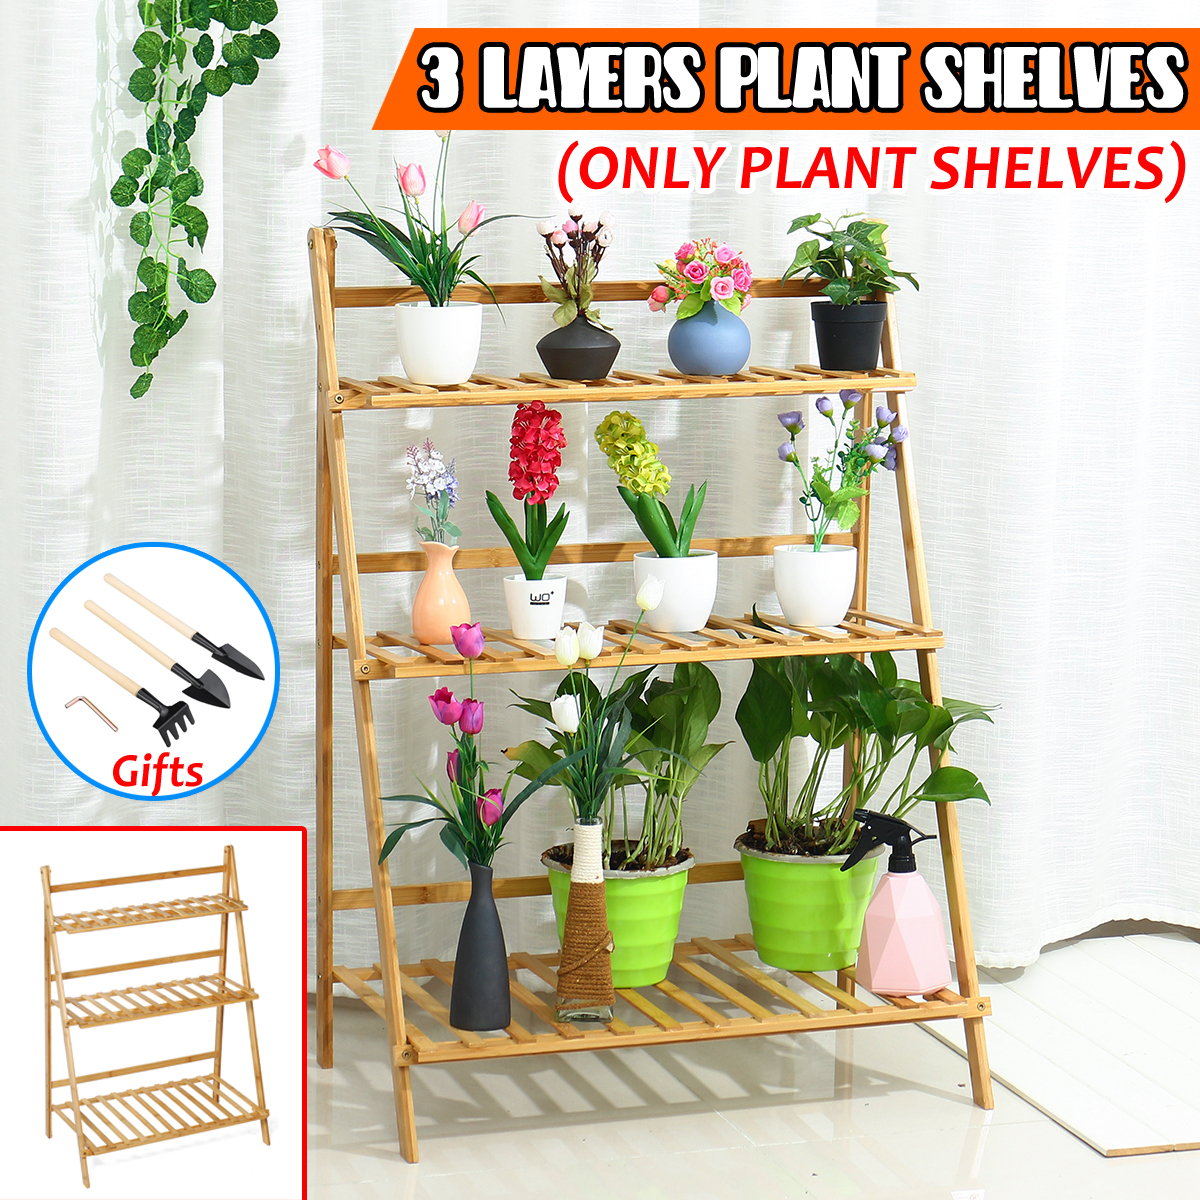
Choose containers suitable for stacking and gardening purposes. These can include planters, pots, or even repurposed materials such as recycled plastic bottles or wooden crates. Ensure that each container has drainage holes to prevent waterlogging.
Step 2: Determine Placement
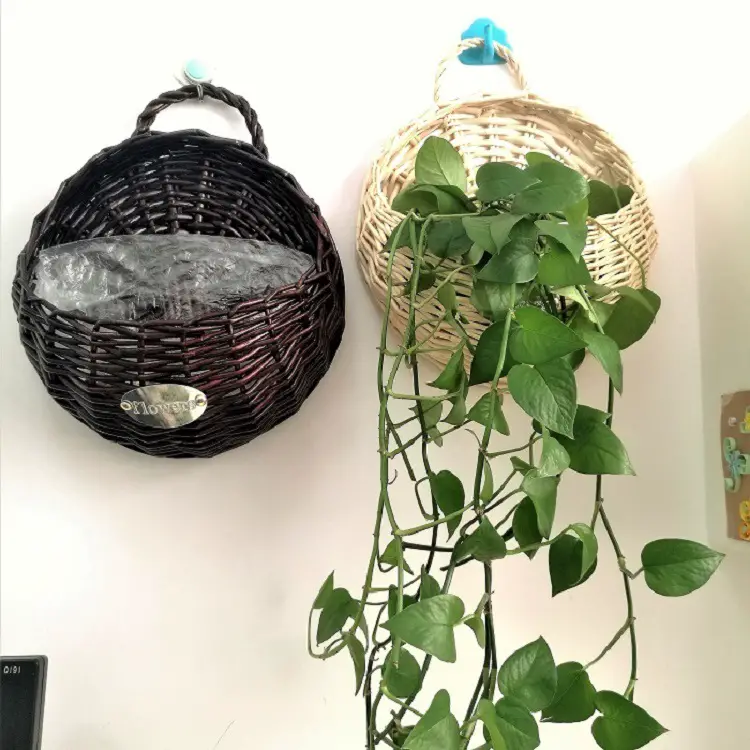
Decide where you want to place your vertical garden – whether it’s against a wall, on your balcony railing, or inside your home near a window. Consider factors such as sunlight exposure and easy access for watering and maintenance.
Step 3: Plan Your Plant Selection
Consider the amount of sunlight your chosen location receives throughout the day. This will help you determine which plants will thrive in your vertical garden. Choose a mix of plants that have similar water and light requirements to ensure harmonious growth.
Step 4: Prepare Your Containers
Fill each container with a suitable potting mix, ensuring it is well-draining while still retaining moisture. It’s recommended to use a lightweight potting mix that contains organic matter and beneficial microbes for healthy plant growth.
Step 5: Stack Your Containers
Start by attaching brackets or supports to the wall or structure where you plan to place your vertical garden. Secure the bottom container to these supports, ensuring it is level and secure. Stack the remaining containers on top, securing them together using zip ties, wire, or hooks.
Step 6: Planting Your Garden
Gently remove plants from their pots and arrange them in your containers, considering their height and growth habits. Leave enough space between each plant for proper air circulation and growth. Water thoroughly after planting to ensure proper hydration.
Step 7: Maintenance
Regularly check your vertical garden for watering needs, as they may dry out faster than traditional gardens due to increased sun exposure and air circulation. Prune any overgrown foliage as needed, ensuring each plant has sufficient space to grow.
Conclusion:
Building a vertical garden with stacked containers offers numerous benefits such as space optimization, increased plant variety, improved air quality, and enhanced aesthetics. By following these steps, you can create a stunning vertical garden even in limited spaces, bringing nature closer to you while adding beauty and tranquility to your surroundings. So why wait? Start building your own stacked container vertical garden today!


